Before you start
Most beginners quit in the first two weeks. Almost never because skating is too hard — usually because they bought the wrong skates, skipped the wrist guards, and fell badly on day one.
This guide fixes all three. It takes about ten minutes to read and will save you a lot of money and at least one sprained wrist.
1. Choosing your first skates
Quad or inline?
You'll read everywhere that quads are easier for beginners. That's half true, and the half nobody tells you is the half that matters.
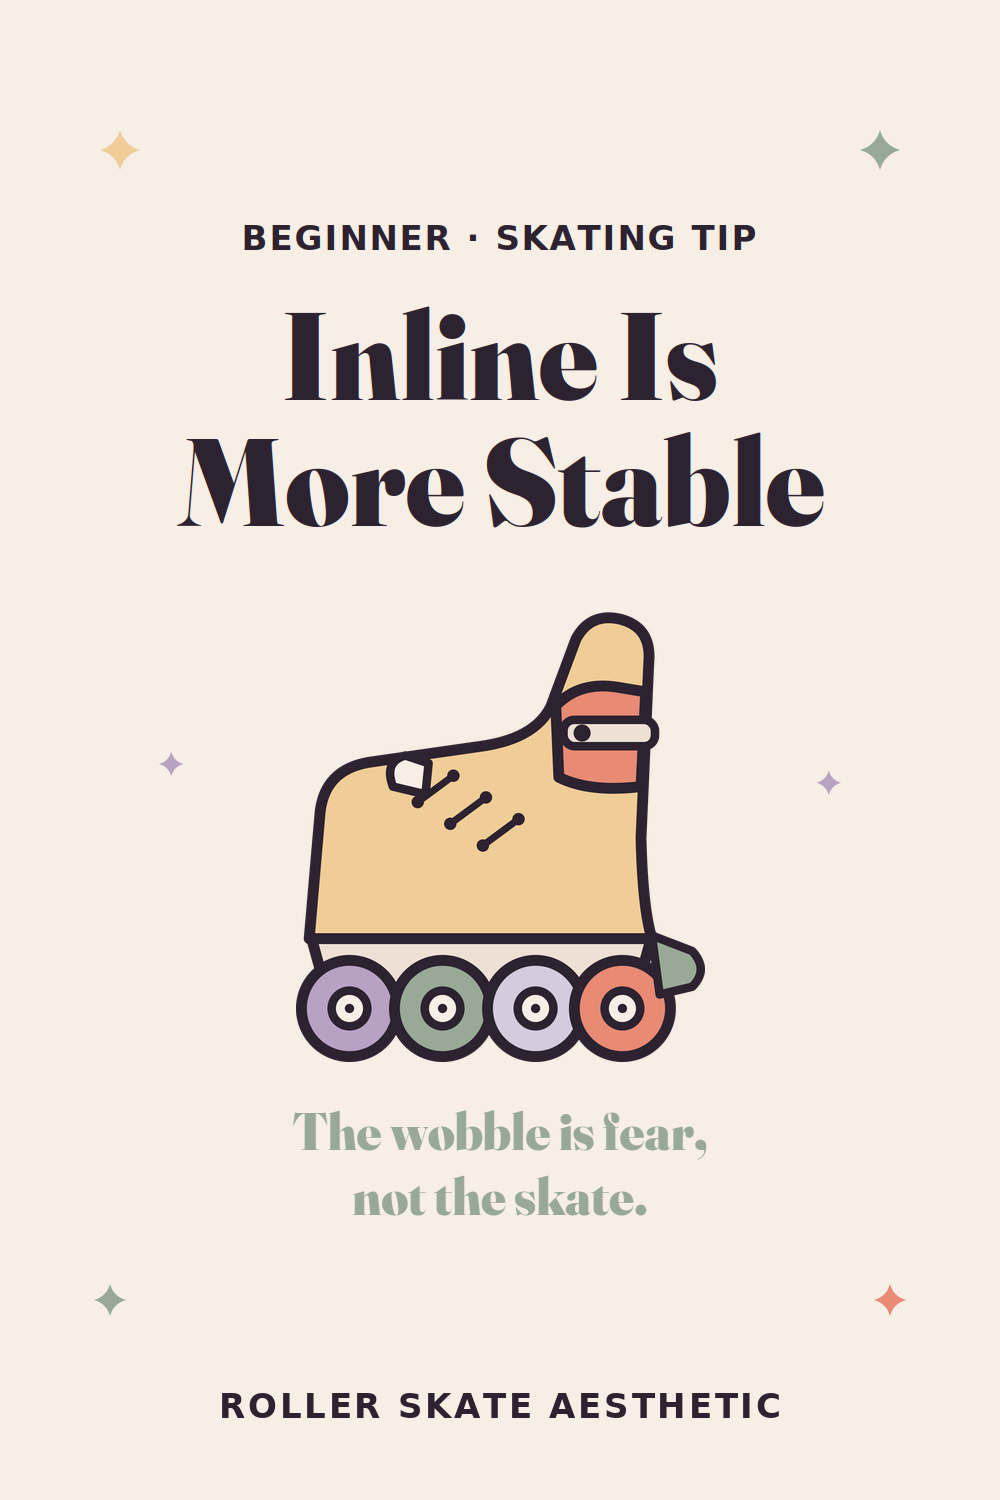
Inline skates are more stable than quads. Standing still and rolling — both. There is no trade-off here, and this is the single thing beginners are most often told backwards.
Why, and the mechanism matters more than the verdict: an inline boot is a rigid shell. Your ankle is locked, held by the boot rather than by your own ankle strength, and the wheels become an extension of your leg. Standing on a single line of wheels is far less precarious than it looks. You are not balancing on a tightrope.
Quads (four wheels, two by two) look like they should win this. Wide base, low to the ground, reassuring at a glance. But a wide base is not stability: the wheelbase is short from front to back and the plate pivots on rubber cushions, which makes quads genuinely twitchy once you move. Falling backwards is the number one beginner failure, and it's exactly what quads are worst at. Many quad boots in the aesthetic/retro style are also cut low, so they give your ankle almost nothing.
What is actually true of quads is manoeuvrability, not stability. They turn shorter and they suit the rink and dance. Those are real advantages — they're just not the one people claim.
And if inlines feel wobbly to you at first, that feeling is fear, not equipment. It goes away. The skate was never the unstable part.
The real caveat isn't the wheel layout — it's boot quality. A soft or badly fitted boot lets your ankle roll inward (pronation), and that is when inline skates feel unstable and exhausting.
Honest verdict
If your only goal is to be rolling and confident as fast as possible, inline is usually the easier start. Plenty of skaters find quads noticeably harder to learn on and much easier once they already know how to skate.
So why do people start on quads anyway? Because quads are what you want for rink skating, dance, jam and park — and because the look is a big part of why people get into it. That's a completely legitimate reason. Just go in knowing you've chosen the harder first month, not an easier one.
Pick by destination, not by which one is "easier":
- Rink, dance, jam, park, the retro look → quads. Accept a slower start.
- Fitness, distance, commuting, getting confident fast → inline.
And whichever you pick: a boot that supports your ankle matters more than the wheel layout.
What actually matters when you buy
In order of importance:
- The boot. It has to hold your foot and your ankle. A soft, collapsing boot is the single biggest reason beginners feel unstable.
- The plate (the frame under the boot). Nylon is fine and normal at entry level. Aluminium is stiffer, more responsive, more expensive.
- The wheels. Easy and cheap to change later — don't let wheels decide your purchase.
- The bearings. Almost irrelevant at your level. Ignore ABEC ratings in marketing; anything decent will roll fine.
What to avoid
Skates sold as toys or costume accessories. They look the part, they cost very little, and the boot folds sideways the moment you put weight on it. You will feel like you can't skate. You can — the skates can't.
Realistically, expect to spend meaningfully more than the cheapest option on the shelf. A decent entry-level pair from a real skate brand lasts years.
2. Getting the fit right
This is where most of the pain comes from. Not falling — badly fitted boots.
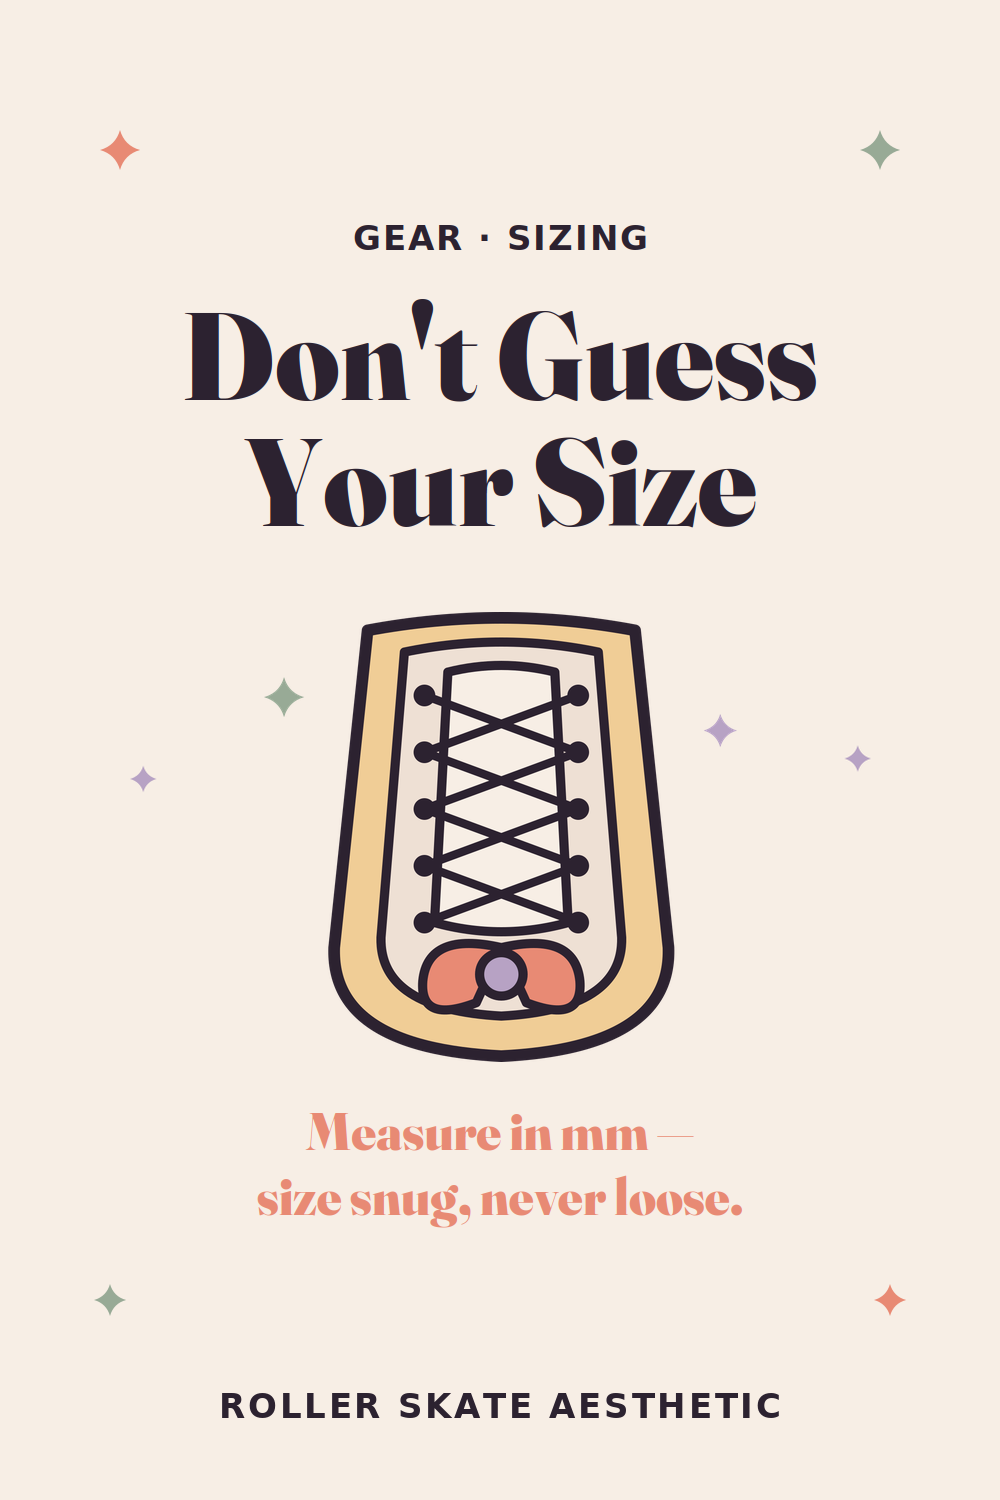
- Measure your foot in millimetres, don't assume your shoe size. Stand on paper, mark heel and longest toe, measure. Do both feet, use the larger one.
- Check the brand's own size chart every time. Skate brands size differently from each other and differently from street shoes. A 39 in one brand is not a 39 in another.
- Snug, not loose. Your toes should just brush the front when you stand straight, and pull back slightly when you bend your knees. Your heel should not lift.
- Never size up "to be comfortable." A loose boot means your foot slides, which means blisters, lost control, and ankle wobble.
- Wear thin skate socks, not thick ones. Thick socks fake a good fit and then compress.
- If a boot is heat-mouldable, use that option — it solves most fit problems permanently.
- If your skates hurt, that's quality, not newness. Bad skates hurt whether they're new or broken in, and no amount of wearing them fixes that. Don't wait out pain expecting it to pass.
- Even good skates produce some discomfort, because a stiff boot does that. It's a fact of the practice, not a fault to repair — and it's mostly an inline question, since the shell is rigid by design. Quads are often closer to a soft trainer, and generally hurt less. Pressure is normal; sharp pain or numbness is not.
3. Protective gear
While you're a beginner, wear all of it. Every piece, every session, no exceptions. After that, once the practice is settled, dropping something becomes your call and your responsibility. But not now.
A list has to be written in some order. This one isn't a ranking — everything below matters from your first session.
- Wrist guards. For the forward falls. The most common beginner injury by far is landing on an outstretched hand. Wrists break easily; guards prevent almost all of it.
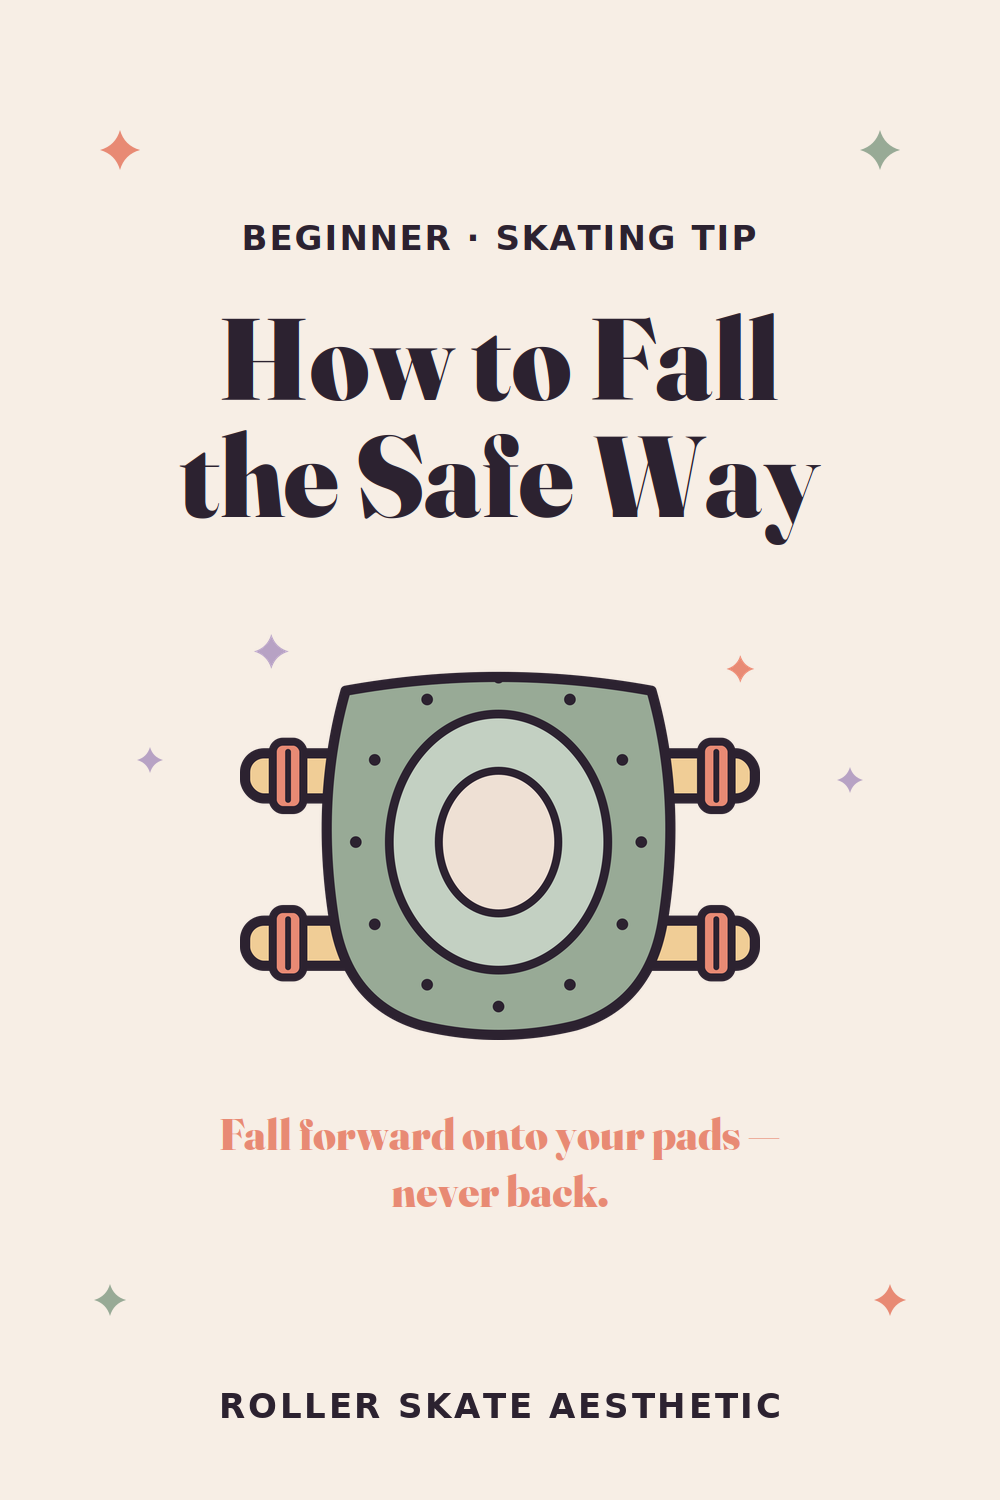
- Knee pads. Because the correct way to fall is forward onto your knees. Good knee pads turn a fall into a non-event and let you actually practise instead of being afraid.
- Helmet. You will fall backwards at some point, usually in your first hour. Head injuries are the only ones on this list that don't heal.
- Elbow pads. For the backward falls — your elbows are what you catch yourself on when you go down behind you, and that's the fall you don't see coming.
Buy pads that fit tightly enough not to slide on impact. Loose pads move out of the way at the exact moment you need them.
4. Your first session
Getting up off the ground
Learn this before anything else, because you'll use it constantly.
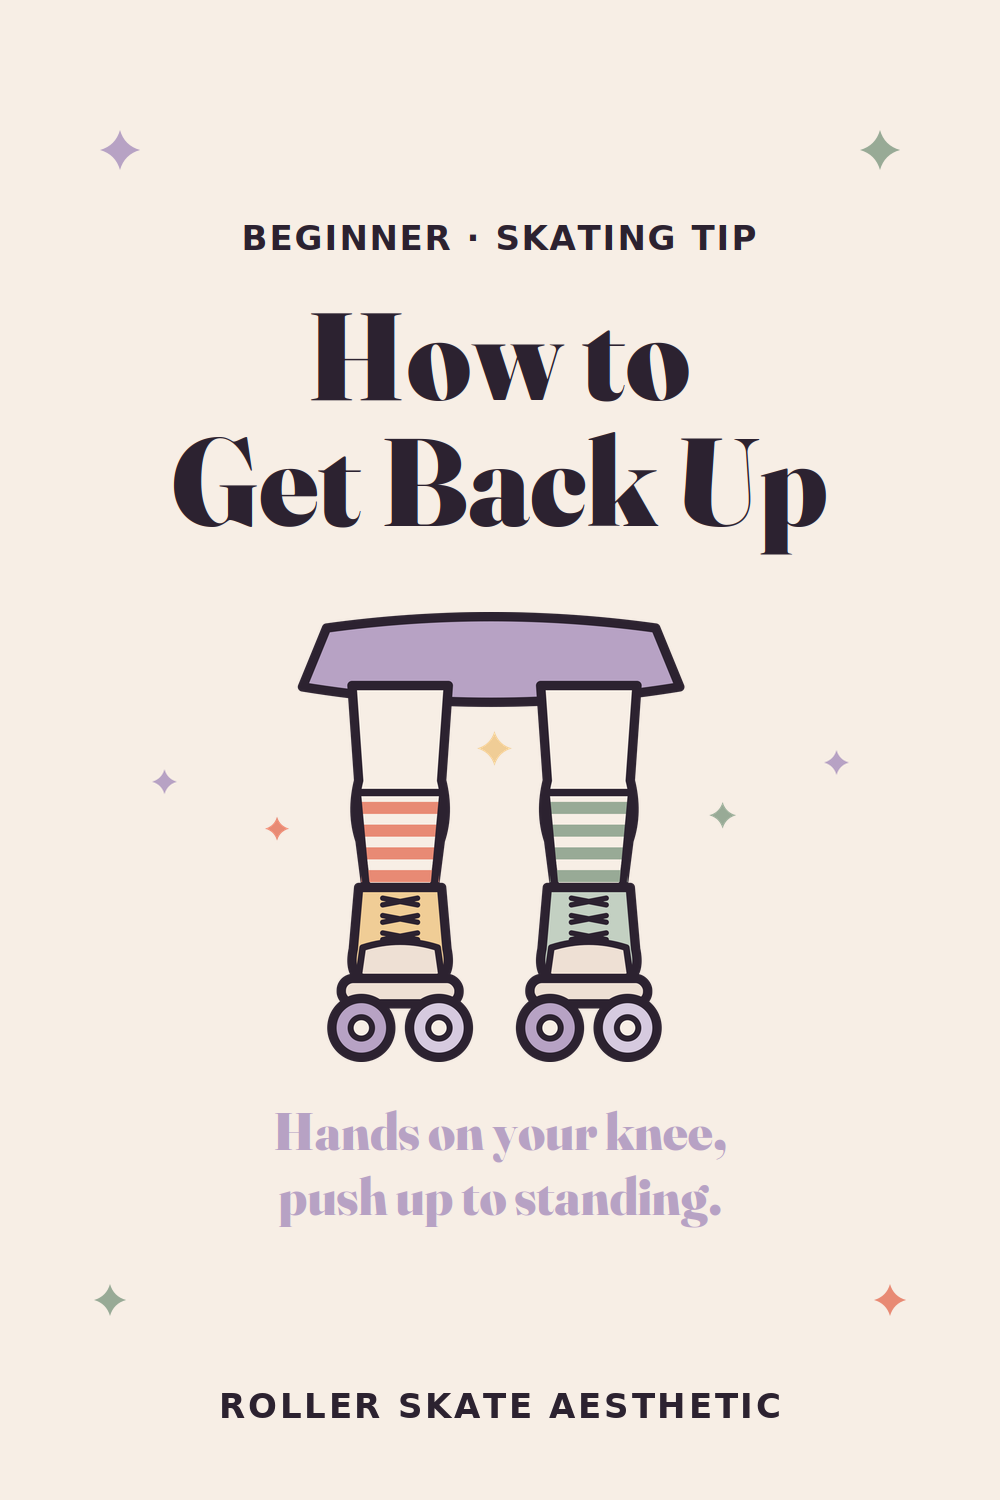
From sitting or lying: roll onto all fours → bring one foot flat under you (knee up, wheels down) → hands on that raised knee → push up while bringing the second foot in. Keep your weight over your feet, not behind them.
Standing without rolling away
Stand with your heels together and toes pointed outward, in a V. This position locks the skates and stops them sliding apart. This is your default resting stance.
Your first three moves
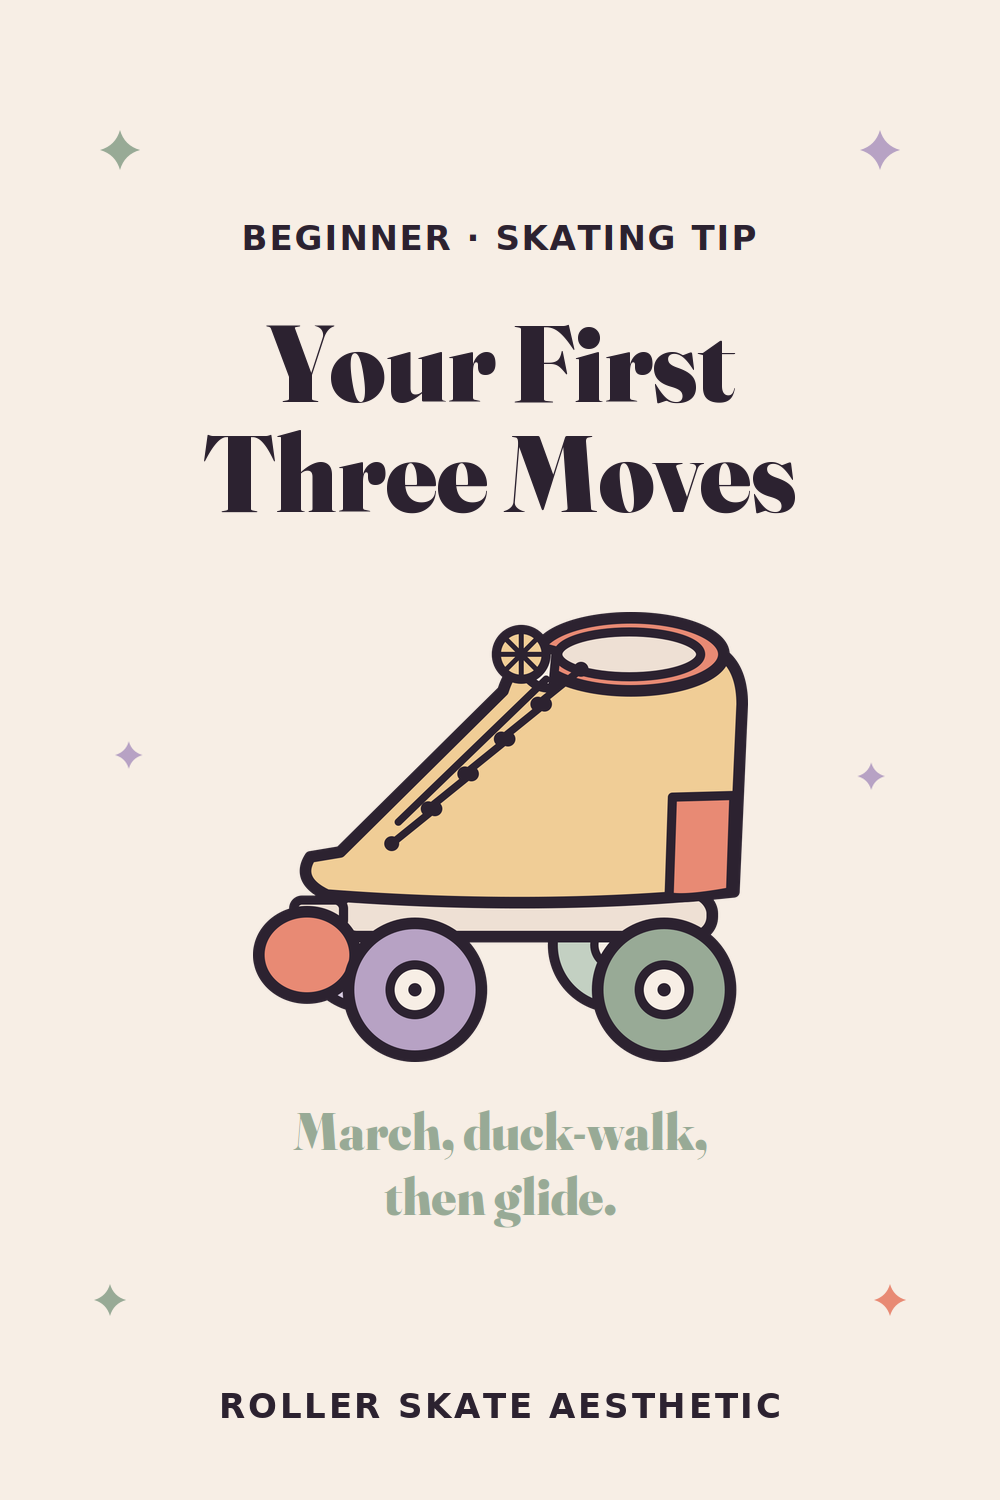
- Marching. Stay in the V stance, lift one foot, put it down. Then the other. No gliding yet. This teaches your body that balance on skates is a moving thing, not a frozen thing.
- The duck walk. Same V stance, but now walk forward on your toes in small steps. You're covering ground without rolling. Do this until it's boring.
- The glide. Push off with one foot, let the other roll, then swap. Knees bent, weight slightly forward, eyes up and ahead — not on your feet.
Bend your knees. Actually bend them.
This is the whole secret and nobody believes it at first. Straight legs put your weight behind your wheels and send you backwards. Bent knees put your weight over your wheels and make you stable. When you feel unsteady, the answer is almost always bend more.
How to fall
Falling forward onto knee pads is safe. Falling backwards onto your tailbone or your hands is how people get hurt.
Train yourself: when you feel it going wrong, drop into a squat and go down onto your knees. Low and forward. Do it deliberately a few times on purpose, on padded knees, so it becomes reflex.
5. How to stop
Learn one stop properly rather than three badly. And practise stopping before you practise going fast.
If you're on inlines
T-stop. Most guides send beginners to the heel brake first. In practice, the T-stop is the one that works, and plenty of skaters learn it first.
Roll forward. Bend your front knee — properly bent — and lower your whole body, not just that leg. Bring your other leg behind you and turn it perpendicular to your direction of travel, so the line of wheels sits across your path rather than along it. Then drag it.
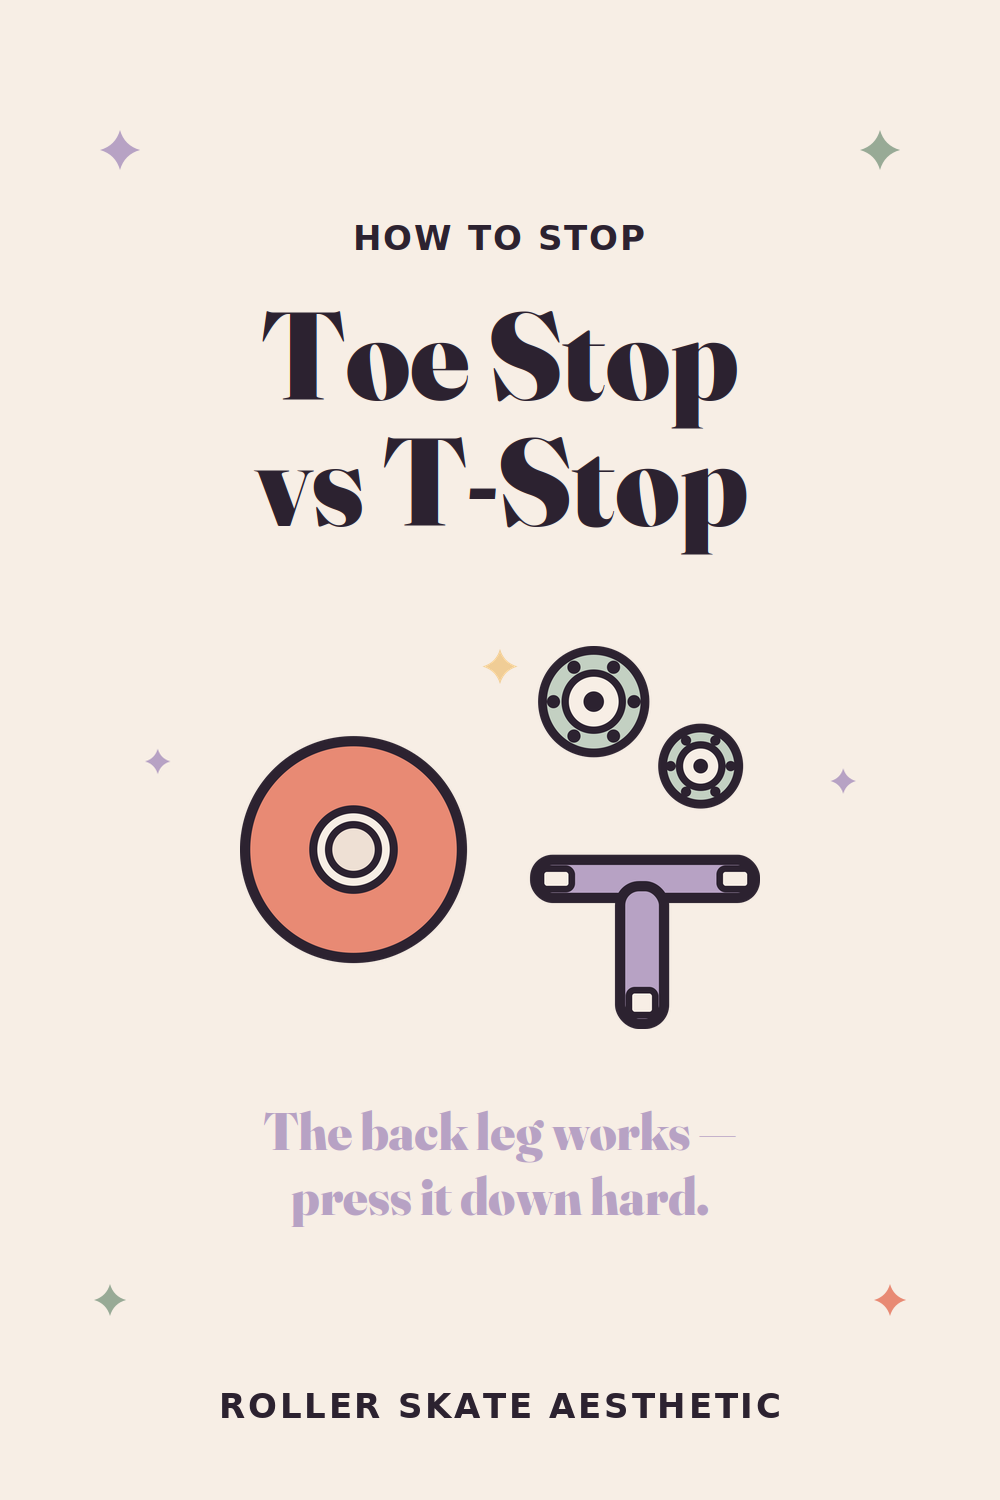
Here's the part almost every tutorial gets wrong. You'll read that you should put most of your weight on the front foot and let the back skate trail behind. Your weight does stay forward — but the back leg is not resting. It has to push, hard. Pressing that dragging skate into the ground is the entire braking force. If it feels effortless, you aren't slowing down.
It wears your wheels unevenly. That's the price, and it's worth paying: it's the most effective stop and the quickest to become reliable.
Heel brake. The rubber block on the back of one skate. The textbook beginner stop and worth knowing, but many skaters find it awkward and stop using it once the T-stop is solid.
If you're on quads
Toe stop drag. Roll on your front foot, trail the other behind you and tip it onto the rubber toe stop at the front of the skate. Same principle as the inline T-stop, and the same warning applies: the trailing leg is working, not resting. Simple, controlled, usable from day one.
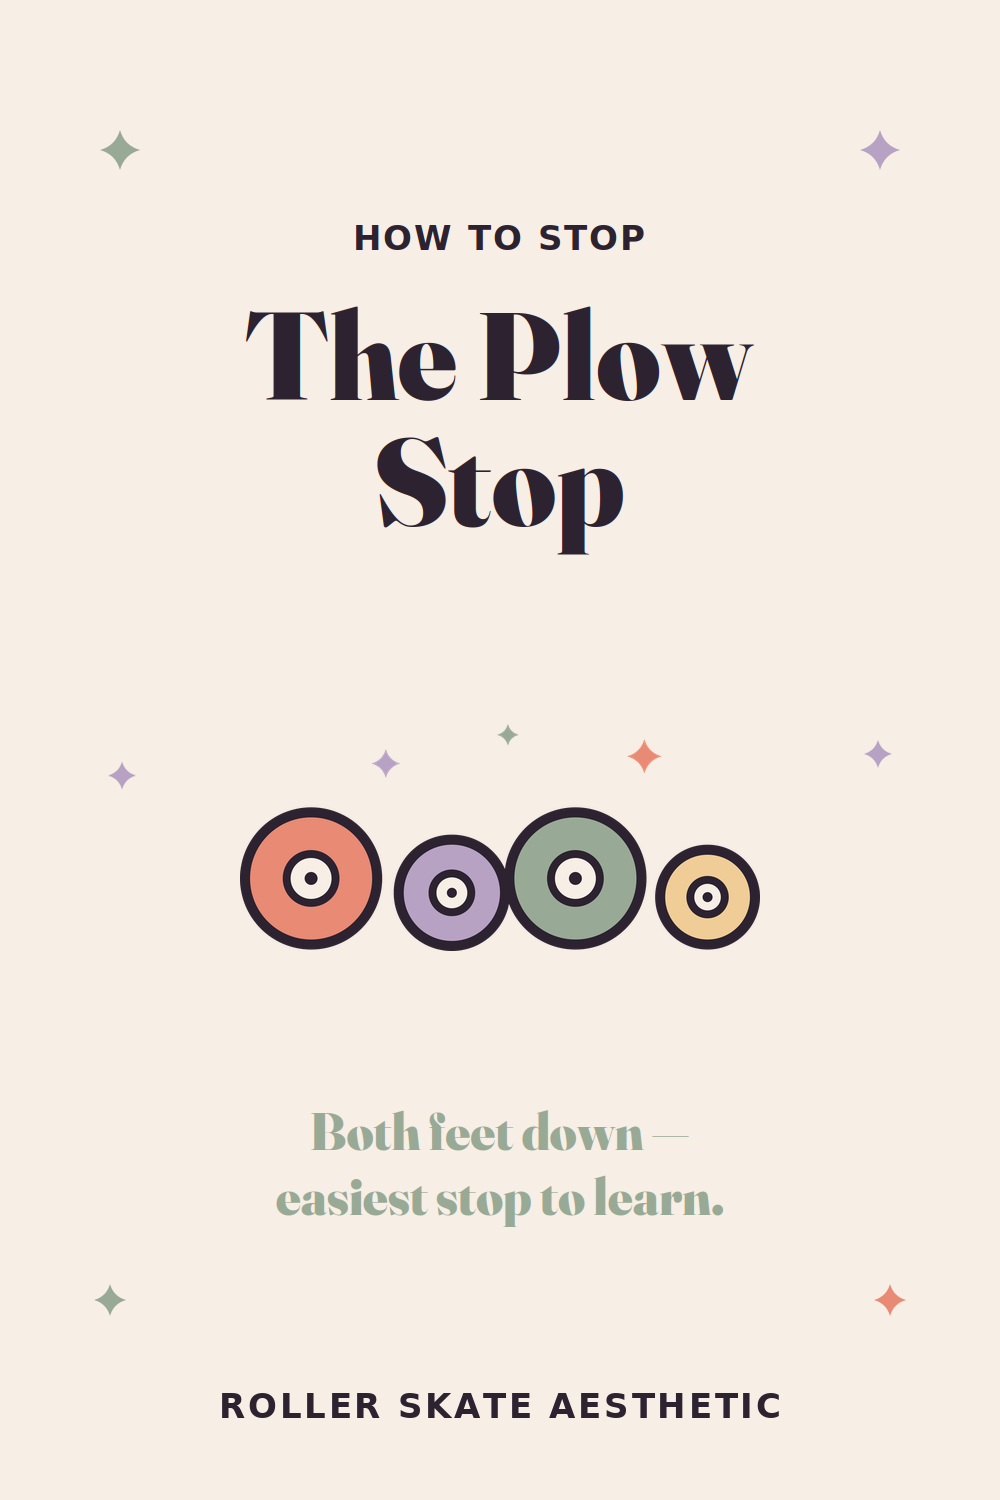
Plow stop. Feet wider than your hips, push your heels apart, toes turned slightly inward, knees bent. Both feet stay on the ground, so it asks nothing of your single-leg balance — which is why some coaches teach it before the toe stop drag. It's also the most useful stop long term.
T-stop. The same move as the inline version, dragging wheels instead of a toe stop. Learn it third on quads: with a toe stop already under your foot, there's no reason to rush it.
6. Where to skate when you're starting
Good: an indoor rink, an empty tennis or basketball court, a smooth flat car park early on a Sunday, a skate-friendly gym floor.
Bad: anything with a slope, gravel, cobblestones, wet ground, or traffic. Also crowded paths — you'll spend all your attention avoiding people instead of learning.
The single most important quality is flat and smooth. A tiny incline that you'd never notice walking becomes a runaway problem on wheels.
One thing about wheels and surfaces
Indoor wheels are hard. Outdoor wheels are softer, which lets them absorb rough ground instead of skidding off it. If you take hard indoor wheels outside, the skates will feel unpredictable and every pebble will stop you dead.
Durometer is the hardness number printed on the wheel, followed by an A. Lower = softer.
- Outdoors: roughly 78A–85A. Toward 78A for genuinely rough tarmac (softer grips more, rolls slower, wears faster); toward 85A for smooth pavement.
- Indoors / rink: much harder, roughly 95A–103A. These slide on purpose — that's what makes rink floors work.
Diameter matters too, and it's the part beginners never hear about. Bigger wheels roll over cracks and gravel better but raise you further off the ground; smaller wheels are more stable and more manoeuvrable.
- Quads outdoors: commonly around 58–65 mm, and wider wheels grip better.
- Inline recreational: commonly around 76–90 mm.
Swapping wheels is the cheapest upgrade in skating and it changes everything. If your skates came with hard indoor wheels and you skate outside, this is the first thing to fix — before blaming yourself.
7. Beginner checklist
Before your first session:
- Skates that fit — measured in mm, checked against the brand's chart
- Wrist guards
- Knee pads
- Helmet
- Elbow pads
- Thin socks
- The right wheels for where you're actually going to skate
- A flat, smooth, empty place to go
- A skate tool (for tightening trucks and swapping wheels)
That's the whole list. Nothing else is required.
The visual guide
The same lessons, one card at a time.